
MongoDB is a document-oriented database which allows to store data in standard JSON format. It is cross-platform database, so can be installed to any platform. Here, we will install MongoDB in Ubuntu operating system.
Installation process is very easy just follow the given steps and commands to the Ubuntu terminal.
First, update Ubuntu repository to it's recent version, so that we can get latest and updated MongoDB version.
$ sudo apt update
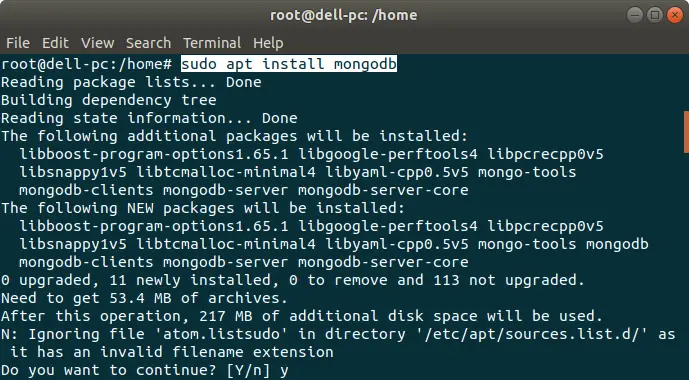
Now, install mongoDB by using the below command in the terminal.
$ sudo apt install mongodb
It will install latest MongoDB along with helpful management tools for database handling.
By default MongoDB is automatically started after installation. We can check it's running status by using the below command.
$ sudo systemctl status mongodb

To Stop MongoDB server, we can use the below command in the terminal. It will stop all the services of MongoDB completely.
$ sudo systemctl stop mongodb
To start MongoDB server, we can use the below command anytime in the terminal.
$ sudo systemctl start mongodb
To restart MongoDB server, we can use the below command in the terminal. It will restart all the services of MongoDB server.
$ sudo systemctl restart mongodb
By default, MongoDB is configured to start automatically after installation. We can disable it's automatic startup by using the below command.
$ sudo systemctl disable mongodb
To enable MongoDB again, so that it can automatically start, we can use the below command.
$ sudo systemctl enable mongodb
In this tutorial, we learnt how to install MongoDB database in Ubuntu operating system. Now, we can work with MongoDB and enjoy its advantages. Till then Happy Coding!